Using Active Pages with FrontPage 98
What you will learn from this lesson
When you use active page techniques with FrontPage 98 you will:
- Add a motion clip to your page.
- Create a hit counter.
What you should do before you start this lesson
Start Microsoft FrontPage 98.
Exploring the lesson
Creating an image map
Image maps are images that contain hyperlinks. The FrontPage Editor allows you to create image maps by inserting the image on the page and using the tools on the Image toolbar to create hotspots.
Inserting an image
To insert an image on your screen, position the insertion point where you want your image to appear. You may want to center or move the image to the side by using the Align Left, Center, or Align Right button on the Format toolbar.
Using the FrontPage Editor to insert an image
- Open the washingtonhigh home page in the FrontPage Editor.
- Press ctrl+click on the Student Resources link.
- Press ctrl+click on the Student Yearbook link.
- On the Insert menu, click Clipart.
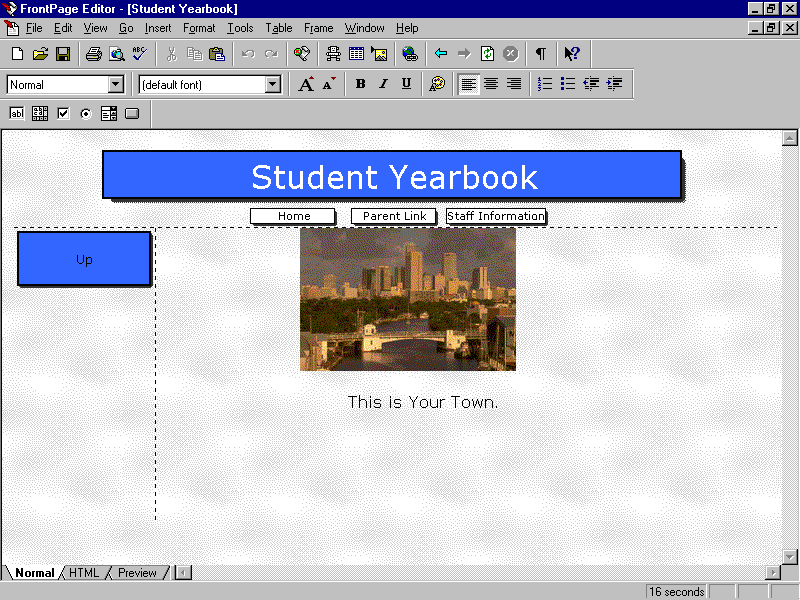
- In the Microsoft Clip Gallery 3.0 dialog box, on the Clip Art tab, click Buildings, and click one of the images.
- Click Insert.
- On the Format toolbar, click the Center button.
- Press enter, and type This Is Your Town.

Creating hotspots
A hotspot is an area on a graphic that links to another page or Web site. A single image can contain more than one hotspot and more than one link.
Creating a hotspot
- On the View menu, click Image Toolbar.
- On the Image toolbar, click the Rectangle button. The mouse pointer becomes a pencil.
- With the pencil, draw a rectangle around the bridge to create a hotspot.
- In the Create Hyperlink dialog box, click newpage1.htm, the Activity Schedule page, and note the URL change.
- Click OK.
- Press ctrl +click on the hotspot to activate the link to the Activity Schedule page.
- Press ctrl +click to get back to the Student Yearbook page.
Setting image properties
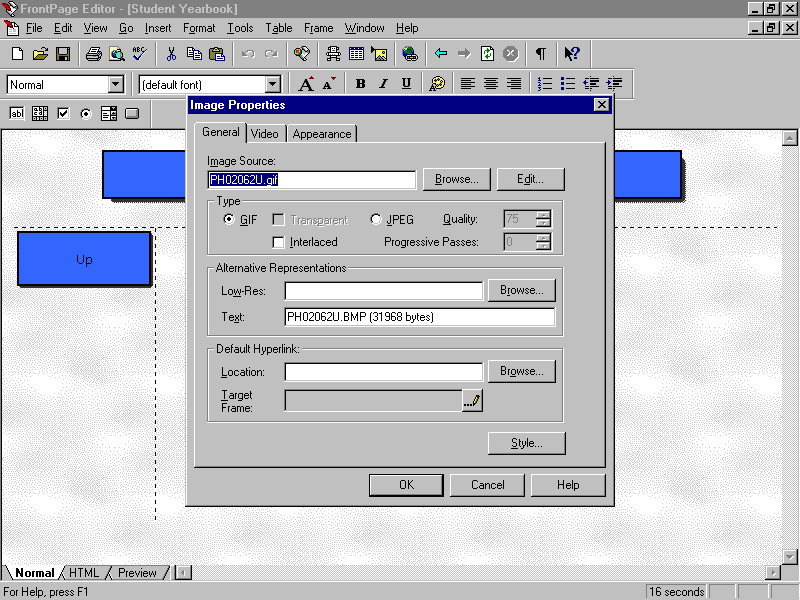
In the Image Properties dialog box, the image type can be converted and specifications for video clips can be set.
Exploring image properties
- In the Student Yearbook page, click once on the image to select it.
- On the Edit menu, click Image Properties.

In the Image Properties dialog box, explore the General tab.
Do the same for the Video tab.
On the Appearance tab, note the size in pixels. Click Specify Size, and change the width to 300.
Click OK.
Quit the FrontPage Editor, and save as prompted. (Click OK to save embedded files.)
A motion clip is a video clip that contains movement when viewed on the screen. You can import video clips that you make or clips from other sources. Video clips can take up a lot of memory, so use them with caution.
Adding a motion clip
In the FrontPage Explorer, in the Folders view, double-click newpage2.htm.
On the Instructional Programs page, position the insertion point in front of Programs at Washington High School, and press enter.
On the Insert menu, click Clipart.
In the Microsoft Clip Gallery 3.0 window, click the Clip Art tab, Science & Technology, and then select a computer clip.
Click Play to preview the motion clip.
Click Stop Playing.
Click Insert.
Click the image, and on the Format toolbar, click the Center button.

In the lower-left corner, click Preview.
Click Normal to get back.
Save your page (click OK to save with embedded files).
Press ctrl+click on the Home link to get back to the home page.
How you can use what you learned
Before you publish your Web, make sure that everything is organized the way you want it and graphics appear where you want them. Check all the pages for spelling, verify hyperlinks, and view the Task History.
Extensions
Creating and adding a hit counter
It is fun to have a counter to see how many people visit your Web site.
Installing a hit counter
- Beginning on the home page, position the insertion point at the bottom of the page, below the date you inserted in a previous lesson.
- On the Insert menu, click Active Elements, and then click Hit Counter.
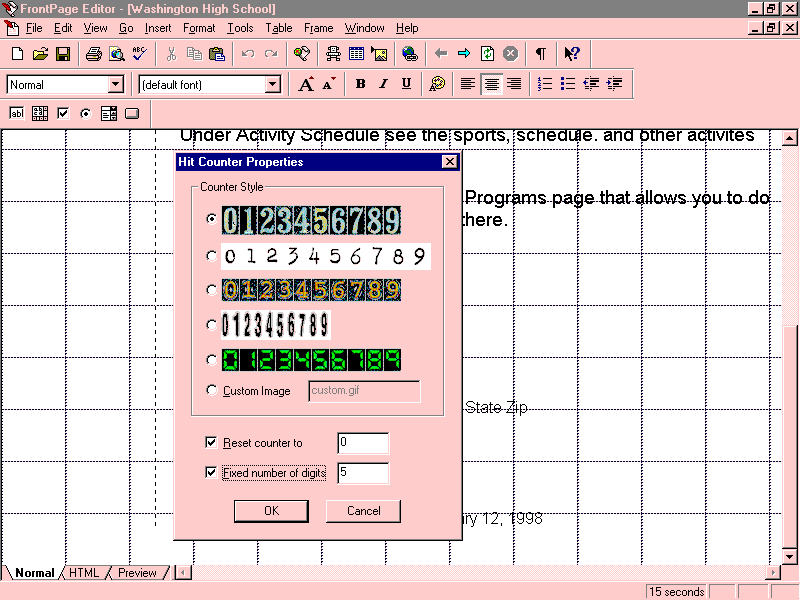
- In the Hit Counter Properties dialog box, select a counter.
- Select Reset counter to, and type 0 in the text box.
- Select Fixed number of digits, type 5 in the text box, and click OK.

Save your page.
On the File menu, click Preview in Browser, and click Preview to see how the hit counter will look on your page.
Close the browser and return to the home page in the FrontPage Editor.
Quit the FrontPage Editor and the FrontPage Explorer.
Summarizing what you learned
In this chapter you have explored and practiced:
- Creating an image map.
- Adding a motion clip to your page.
- Creating a hit counter.


